Disclaimer: most of the links in this blog are affiliate links. This blog is a hobby, and it’s ad-free. Every time you click on a link and make a purchase, I will receive a little bit of money at no extra cost to you. So thank you for this! 🙂
Then I started to cook and freeze. And forgot about removing them from the freezer to thaw on the fridge overnight. And when I remember, the food didn’t taste that fresh. Because, well, I cooked and froze them.
You’re going to need an Instant Pot to follow this guide, you can buy yours at Amazon if you don’t have it.
1 | Choose the recipes
Are you the type of person that doesn’t like to eat the same thing every day? Then you have to think about 7 meals per week, or 5 if you want to eat out on weekends.
Every recipe I choose must be enough for me and my husband eat for 2 days. And the recipes I pick are the main course, the meat.
Also, I have a standing freezer but the drawers are not big, so I can’t make 30 meals to freeze.
Make a list of all the ingredients, then make a shopping list and go buy the ingredients.
But if you don’t want another subscription, I totally get it!
If you need loots of ideas for recipes, you can check out this book:
The Healthy Meal Prep Cookbook: Easy and Wholesome Meals to Cook, Prep, Grab, and Go
2 | Choose your containers
The shape you’re going to freeze your meals makes a huge difference in how many you can make.
I use reusable silicone bags, like Stasher or Ikea ones. I freeze them horizontally, and when everything is shaped up, I turn them vertically like a file, and it’s easy to find. You have to choose the size of your bags based on the size of your Instant Pot.
I also like to use these bags because it’s an excellent way to marinate a lump of meat without touching anything. Just throw the ingredients in the bag, close it and shake it.
(Keep in mind that spices accentuate their flavour while frozen)
If I do something specifically for the oven, I freeze the meals either in a glass container like these or an aluminum one. Then I’ll stack them in the bottom drawer.
3 | Assembling
You’re not going to cook on the freeze day. You’re only going to cook on the day you remove the pack from the freezer. And the frozen content will go straight to the Instant Pot 😍.
If the container is stuck, just leave it in a bow with hot water for a few minutes.
The Assembling day is the day to make your kitchen looks like a mess because you’re going to need the many hands available to create stations.
The veggies cut stations, the meat clean and cut stations, and the recipe assemble the station.
Make a Pinterest board, or Trello board, or print all the recipes you will freeze this day.
Don’t skip this step or you’re going to hate yourself in the future.
- To assemble, you will need something to hold the bags in place: I put the heaviest item first, and then I’ll add all the other ingredients later.
- If there is more than one sauce in the recipe, what I do is put the 2nd sauce in a different bag and then add that inside the bigger one.
- If there is no sauce in the recipe, remember that on the Cooking day, you must add water or broth to the Instant Pot.
- The amount of liquid must be specified in the recipe.
4 | Side Dishes Meal Prep
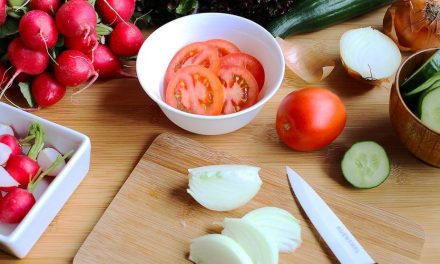
How long do you think a produce can stay in the fridge before it goes bad?
- Cooked rice – up to 4 days
- Lettuce – up to 8 days
I noticed that if I mix the salad, the produce goes bad earlier than if each one has its own container. I was at the Superstore last year and I found this container that makes vegetables, legumes, and berries last longer. It’s amazing🤩. I found a similar one, same brand here.
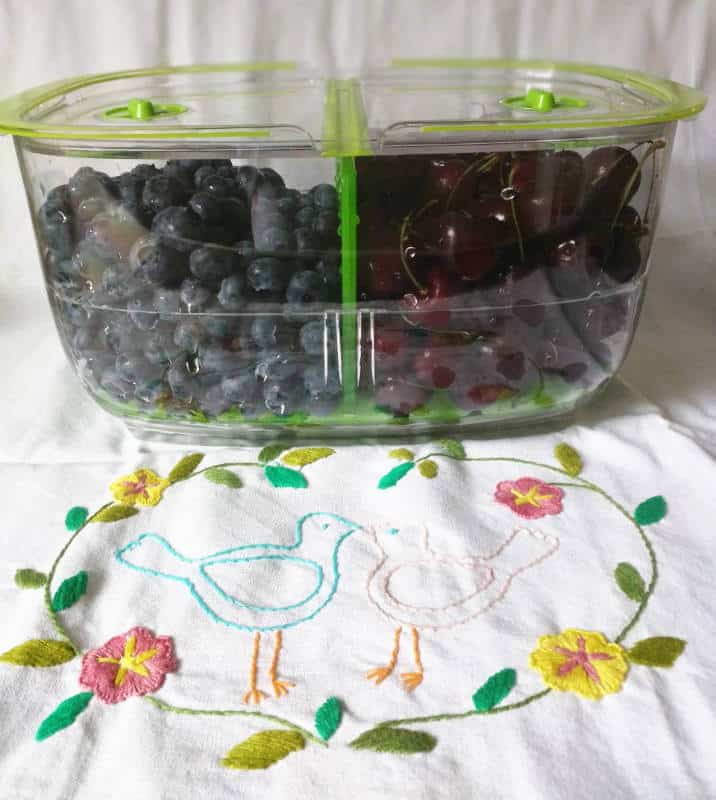
So, what we do is, we open the containers and put the salad together on the day we’re going to eat. This way we always have a fresh side dish. And the fridge is not cluttered with small containers. I also make enough rice for 3 days (1 cup of raw rice), and if I am feeling adventurous, I cook something different. I saved so much time with the Instant Pot that I can feel adventurous in the kitchen.
Pin for later
